


Before installing a clutch and flywheel kit, prioritize safety, preparation, and organization. Gather necessary tools and check for compatibility with your vehicle. Equip yourself with protective gear, declutter your workspace, ensure proper lighting, and maintain cleanliness to prevent debris damage. A well-prepared toolkit tailored to the job reduces risks and enhances efficiency.
Avoiding common mistakes during clutch and flywheel kit installation is key to ensuring your vehicle’s performance and longevity. This comprehensive guide walks you through preparation, safety checks, step-by-step installation, and post-installation care. From creating a clean, organized workspace equipped with the right tools and gear, to precise removal of old components and careful assembly of new ones, each step is crucial. Learn how to test your vehicle’s performance after installation and maintain your clutch and flywheel kit for optimal results.
- Preparation and Safety Checks
- – Ensuring the workspace is clean, well-lit, and organized
- – Safety gear and tools required for the installation
Preparation and Safety Checks
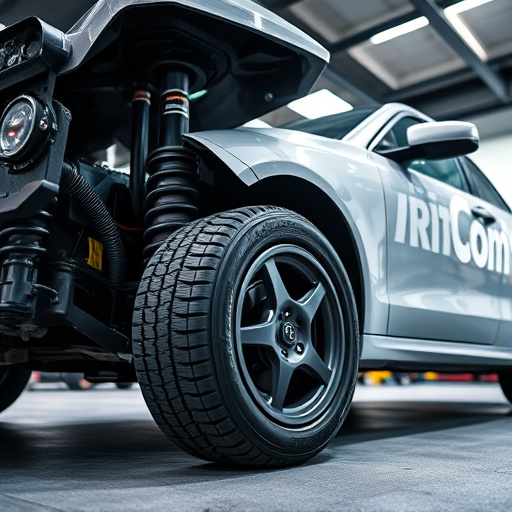
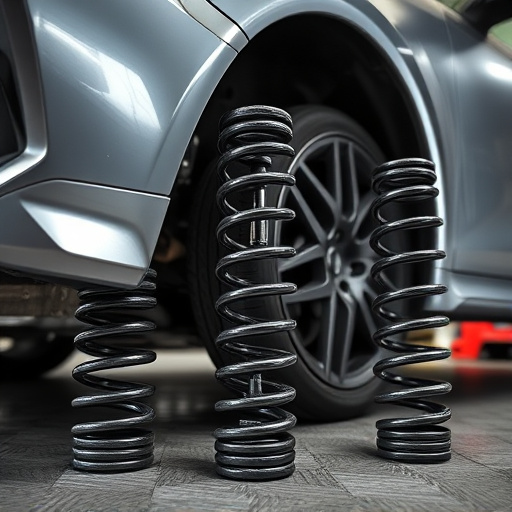
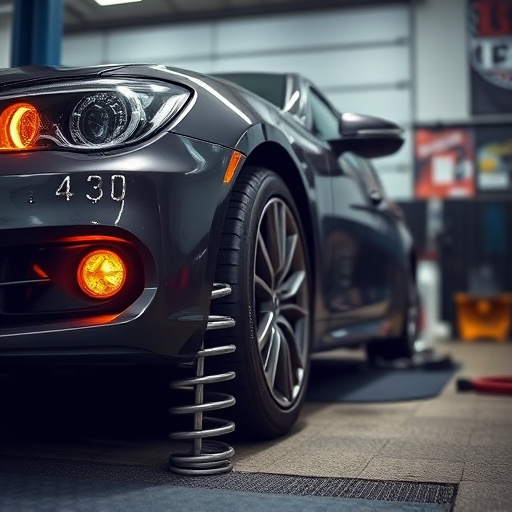
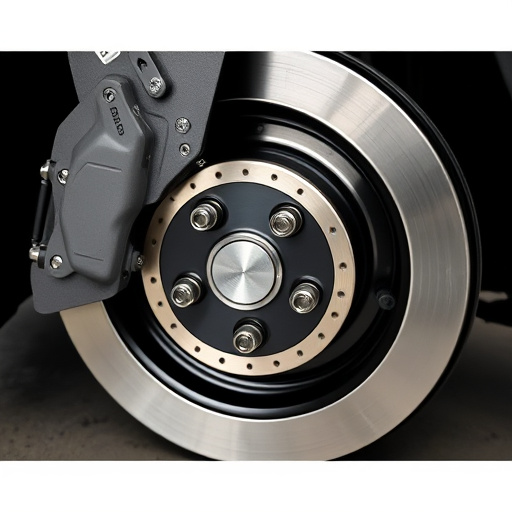
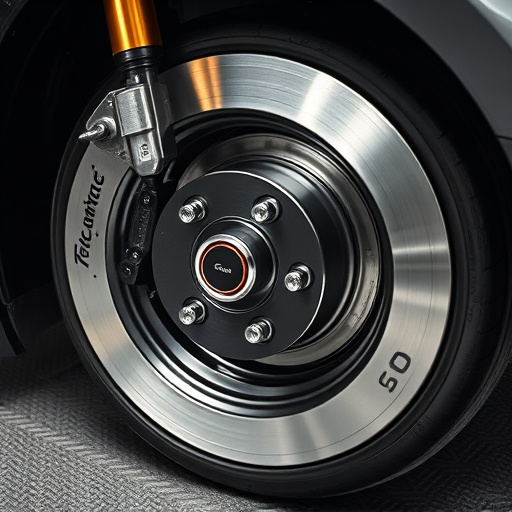
Before tackling the installation process, thorough preparation and safety checks are paramount to ensure a smooth and successful clutch and flywheel kit replacement. Begin by familiarizing yourself with the vehicle’s layout and identifying the relevant components, such as the clutch housing, pressure plate, and flywheel. Ensure you have all necessary tools readily available, including jack stands, wrenches, sockets, and any specialized equipment specific to your vehicle model. Check for any signs of damage or wear on the existing parts, especially the brake rotors, as this could impact the installation process or vehicle performance.
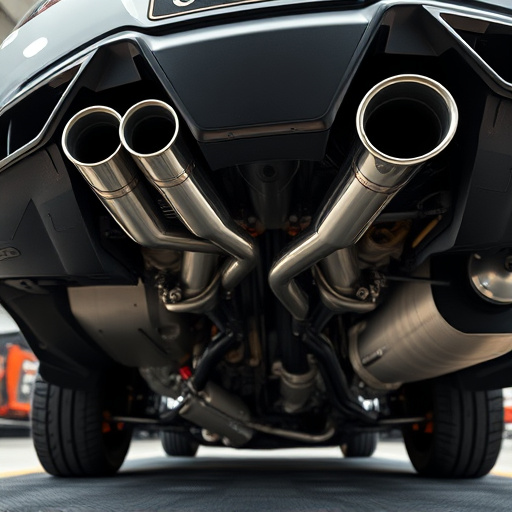
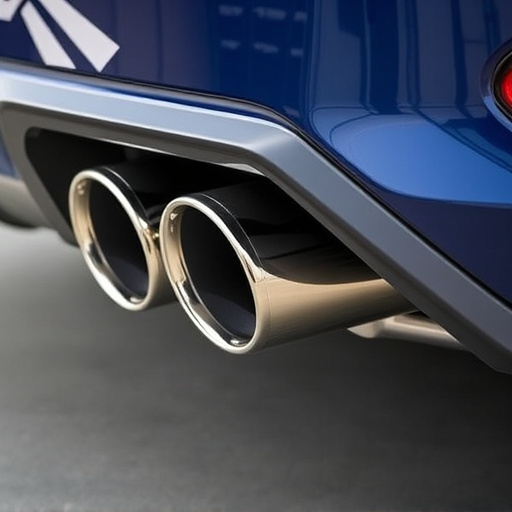
Additionally, inspect the air intake systems and related components for any debris or obstructions. Clear any unwanted accumulations that might interfere with proper air flow, which is crucial for optimal vehicle performance. Double-check that all safety features, such as emergency brakes, are properly engaged and functioning correctly. Wearing appropriate personal protective equipment (PPE), including gloves and safety goggles, is essential to safeguard against potential hazards during the installation process.
– Ensuring the workspace is clean, well-lit, and organized

A clean, well-lit, and organized workspace is essential for a successful clutch and flywheel kit installation. Before beginning the process, take the time to declutter your work area, ensuring all tools and parts are readily accessible. A tidy space not only enhances efficiency but also safety—a cluttered garage or shop can lead to accidents and errors. Proper lighting is crucial, as it allows for precise measurements and assembly without strain. Additionally, keeping the workspace organized makes it easier to locate specific tools or components, such as intake components, air filter kits, or brake rotors, which are integral to the overall installation process.
Maintaining a clean environment also prevents debris from damaging delicate parts. Grease, dirt, or metal shavings can compromise the integrity of new clutch and flywheel kits, leading to potential failures later. Invest in floor mats to catch any falling particles and keep your workspace pristine. Proper organization and cleanliness are fundamental steps that every car enthusiast should follow to avoid common mistakes during clutch and flywheel kit installations.
– Safety gear and tools required for the installation

Before beginning any work on your vehicle, ensuring you have the right safety gear and tools is paramount. For a clutch and flywheel kit installation, this includes heavy-duty gloves to protect your hands from sharp edges and debris, safety glasses to shield your eyes from flying particles, and ear protection to avoid noise damage. Additionally, a sturdy jack and jack stands are essential for safely lifting the vehicle, while socket sets with various sizes cater to the intricate bolting process. It’s also recommended to have a spare set of hands for tasks that require precision and stability.
Beyond these basics, specific tools unique to clutch and flywheel kits may be needed, such as specialized wrenches or torque keys. Verifying compatibility with your vehicle model is crucial; ensuring the kit includes all necessary components, including any gaskets, seals, and hardware required for proper installation. Having a well-stocked toolkit tailored to clutch and flywheel replacements will not only streamline the process but also minimize the risk of damage during installation, especially when dealing with intricate systems like exhaust or air intake (including cold air intakes).
When installing a clutch and flywheel kit, proper preparation and attention to detail are key to avoiding costly mistakes. Always ensure your workspace is optimized with a clean, organized layout and adequate lighting. Equip yourself with the necessary safety gear and tools, as these will safeguard you during the process. By adhering to these simple steps, you’ll enhance the chances of successful and safe clutch and flywheel kit installation.