


Before changing a clutch and flywheel kit DIY, gather essential tools like jack stands, floor jacks, sockets, ratchets, and safety gear. Source high-quality replacement parts from reputable manufacturers compatible with your vehicle model. Park on a level surface, engage parking brake, and use jack stands for security. Clean the transmission area, disassemble connecting hoses, and remove old bolts, documenting positions. Install new kit, cleaning housing thoroughly, and tightening bolts crisscross style. Double-check component security before lowering the vehicle.
Preparing your vehicle for a clutch and flywheel kit change is essential for smooth driving. This comprehensive guide walks you through the process, ensuring a safe and successful overhaul. From gathering the right tools and parts to access and replace the clutch and flywheel kit, we’ve got you covered. Follow these steps to extend your vehicle’s lifespan and enhance its performance. Learn how to navigate this crucial maintenance task like a pro.
- Gather the Necessary Tools and Parts for the Job
- Safely Jack Up and Secure Your Vehicle
- Access and Replace the Clutch and Flywheel Kit Step-by-Step
Gather the Necessary Tools and Parts for the Job

Before beginning any DIY auto repair, ensuring you have all the right tools and parts is paramount. For a clutch and flywheel kit change, your essential tools include jack stands, a floor jack, socket sets (with various sizes), ratchets, wrenches, screwdrivers specific to your vehicle, and safety gear like gloves and eye protection. Additionally, source high-quality replacement parts suitable for your vehicle model, focusing on a clutch and flywheel kit that aligns with your expectations in terms of durability and performance. Consider compatible options from reputable manufacturers to ensure optimal fitment and long-lasting vehicle performance.
Gathering the necessary components—from the clutch and flywheel to pressure plates and throw-out bearings—is crucial for a successful overhaul. Don’t forget auxiliary items like new seals, lubricants, and even a cold air intake (if applicable) that can complement your upgrade, enhancing overall vehicle performance. Remember, having these tools and parts readily available will streamline the process, allowing you to efficiently tackle this complex yet rewarding task.
Safely Jack Up and Secure Your Vehicle

Before you begin any work on your vehicle, ensuring it’s safely secured is paramount. Start by parking your car on a level surface and applying the parking brake. Next, engage the manual or automatic transmission into “Park” (or neutral for manual) to prevent any accidental movement. Use jack stands to safely lift and support your vehicle. Position the jack at the designated points under the chassis for stability, then carefully raise the car until it’s clear of the ground. Once lifted, secure the vehicle with sturdy jack stands, ensuring they’re firmly in place and engaging the proper safety features. This step is crucial to prevent any unintended movement or shifts during the process, especially when dealing with a clutch and flywheel kit replacement.
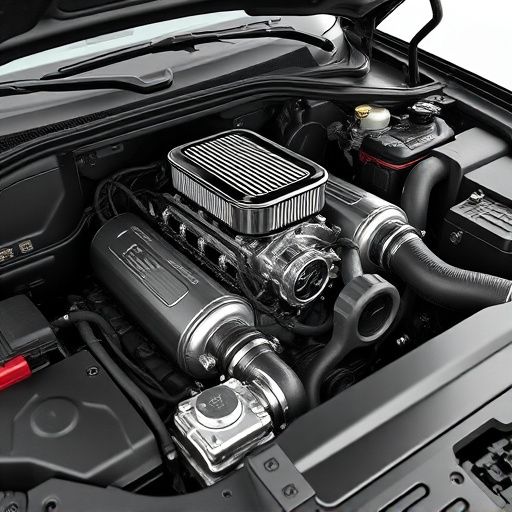
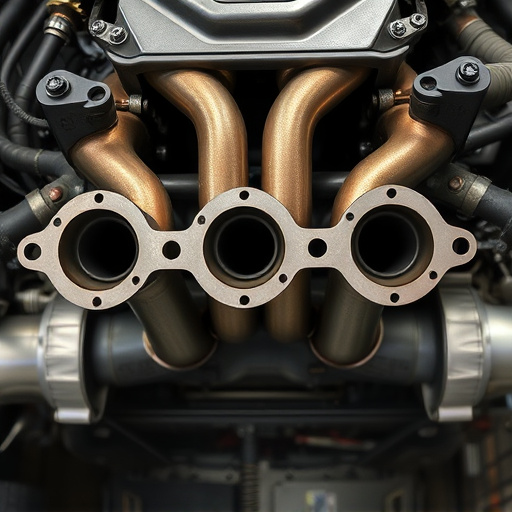
With your vehicle securely jacked up, take the time to inspect and clean the area around the transmission and exhaust system. Remove any debris or old fluid residues to ensure a clean workspace for the new clutch and flywheel kit installation. This meticulous approach ensures not only a smoother process but also enhances the overall performance of your vehicle’s drivetrain components, including its exhaust mufflers and performance brakes.
Access and Replace the Clutch and Flywheel Kit Step-by-Step

Accessing and replacing a clutch and flywheel kit requires careful planning and the right tools. Begin by raising your vehicle using a jack and secure it with wheel chocks for safety. Locate the transmission, which is typically in the rear of the engine bay, and identify the clutch and flywheel components. Remove any connecting hoses or wires from the area to gain full access.
Next, locate the bolts securing the old clutch and flywheel kit. Use a socket wrench to loosen and remove these bolts, taking note of their positions for reassembly. Once the old parts are removed, clean the transmission housing and ensure all debris is cleared. Install the new clutch and flywheel kit by following the manufacturer’s instructions, tightening the bolts in a crisscross pattern for even pressure. Before lowering your vehicle, double-check that all components are properly secured, and consider upgrading to high-performance parts like performance brakes or muffler tips for optimal results.
Replacing your vehicle’s clutch and flywheel kit is a crucial task that, with the right preparation, can be accomplished efficiently. By gathering the necessary tools and parts, safely securing your vehicle, and following a systematic approach, you’ll have the old components removed and the new ones installed in no time. This process not only enhances performance but also ensures a smoother driving experience. Remember to always refer to your vehicle’s manual for specific details, and if you’re unsure, consult a professional mechanic for guidance.